Showing posts with label backtoschool. Show all posts

Thursday, August 8, 2013

Back to school supply box

A couple weeks ago I was debating on either reusing the container I made my son last year or buying/making him a new one for the new school year. Here is the link from the first one: http://emsmom611.blogspot.com/2012/09/cheap-and-easy-back-to-school-present.html
(please let me know if my links work).
So, I made my mind up and decided to reuse the same box from last year (since its big enough to fit all his school supplies. I did add some stickers to the lid to make it look less like a diaper box. So besides reusing the wipes container I also reused the following supplies: 
(not really reuse since the pencils are new) 

So here's the box:: 
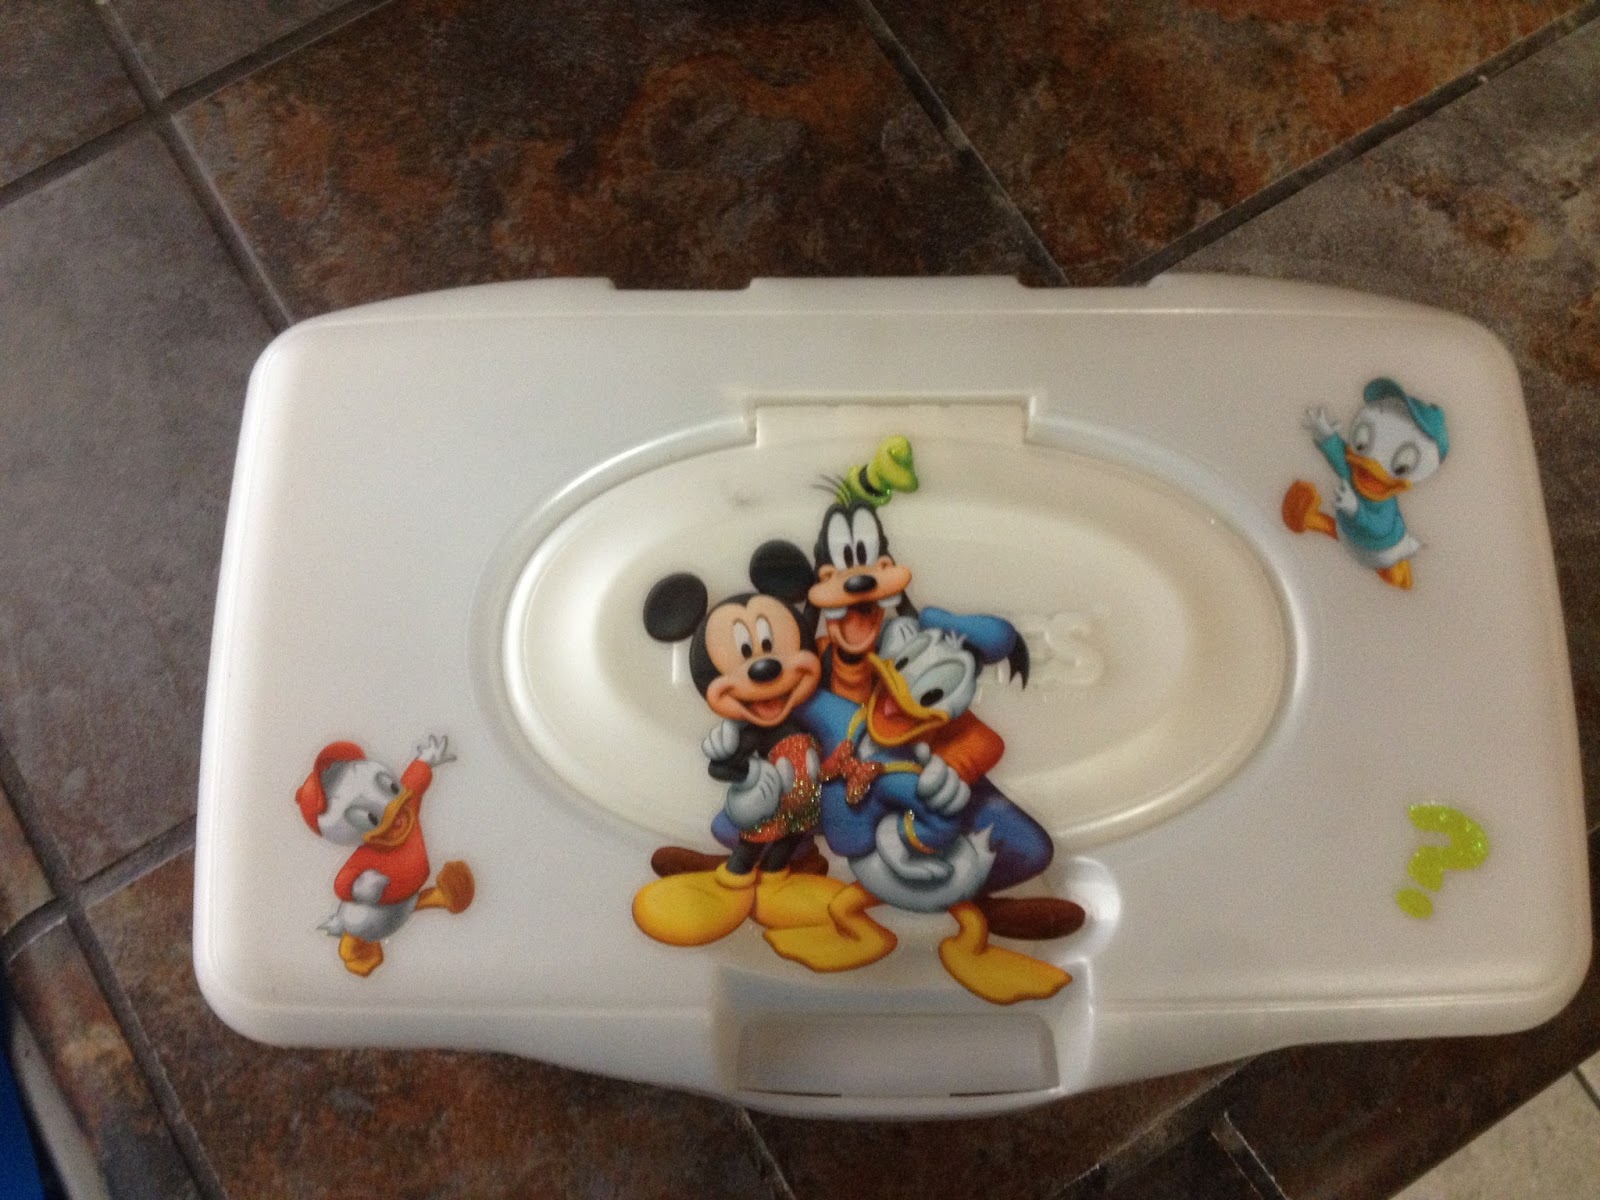


And here is what I bought ... I spent a little less than $3.


And here is how I set it up...

And this is what he came to... He was so excited!

Hope you like it!!!

Thursday, July 18, 2013

Back to school gift year 2

So that time of year is approaching soon ... school starts in 20 days!! Where did the summer go? 
Last year my son came home to a small present (http://emsmom611.blogspot.com/2012/09/cheap-and-easy-back-to-school-present.html) all new school supplies in a wipe container to keep it all in. I have looked for a cooler pencil box but nothing is quite as big and can fit all supplies. Again my goal is for my son to be able to sit with his box and not need to get up in search for a glue stick, or sciccors. Its all there. So my great debate with myself this is year is wether I should redo the box or just restock with all new supplies. I have been leaning to just restocking it ... hmmm dilemmas.... 

** Take advantage of those back to school sales! I went to Staples today and with some rewards bucks and their sales ... I payed .25 for a pack of Crayola Crayons. $1 for a 12pk of Crayola colored pencils and so much more!!! 

Check out my blog for the way I presented the wipe container to my son! The link is above ... my son loved it and knew where his box was, just grabbed it and was ready to go! 

Thanks ! Constructive criticism is always welcomed. 

Wednesday, September 5, 2012

Cheap and easy Back to school present!!

Back to School 

For all those with children going back to school, I have read a few pinterest ideas with a school fairy. I wanted to do something for my son, but he is five and so over fairies.  Then I had so many extra wipe containers and was looking for a way to repurpose them. Again I hit pinterest again and nothing caught my attention. So then I put my two ideas together and created this .... 
A homework bin!! (I thought it was genius...) I remember as a kid I would find any excuse to get away from my homework, so lets make it impossible. 

NOTE: before you think this is expensive. Its not. I didn't even leave my house!! Last year when they did the back to school sales, I went and stocked up on school supplies. There were no more thasn $5 spent to make this box (including the stickers).

What you need: 
  • Letter sticker sheets (I used blue, grey & red). 
  • An old wipe box 
  • and the contents that you wish to put inside 
    • (I used) A box of colored pencils
    • box of crayons
    • box of markers 
    • a few pencils 
    • sharpener 
    • eraser 
    • scissors (the ones that only cut paper) 
    • and lastly glue 
  • For the wrapping ...
    • celophane 
    • a rubber band
    • ribbon
    • and tissue paper 

Also, the stickers I purchased were found on sale at a warehouse sale for Prima. They were super cheap so if your ever out shopping and find some cheap stickers just pick them up. I have used these same stickers for 3 projects already! 
Here are the steps to make the back to school box:

  1. Gather your supplies 
  2. Take your wipe box and pop the lid off (I saved it, I have a feeling at some point all the boxes will end up missing or in shreds).
  3. Next grab all your stickers and start placing randomly, whatever looks good to you. 

    1. I decided to put his name, hoping he will use it to learn writing his name.
  4. Next I placed a yellow green piece of tissue paper on the bottom to make it look like a present.
  5. add the contents to the box, make it presentable. 

  6. Next wrap it in cellophane, use the rubber band to tie it up
  7. Lastly, put a nice ribbon on it and your done!