Showing posts with label easy. Show all posts

Thursday, August 8, 2013

Back to school supply box

A couple weeks ago I was debating on either reusing the container I made my son last year or buying/making him a new one for the new school year. Here is the link from the first one: http://emsmom611.blogspot.com/2012/09/cheap-and-easy-back-to-school-present.html
(please let me know if my links work).
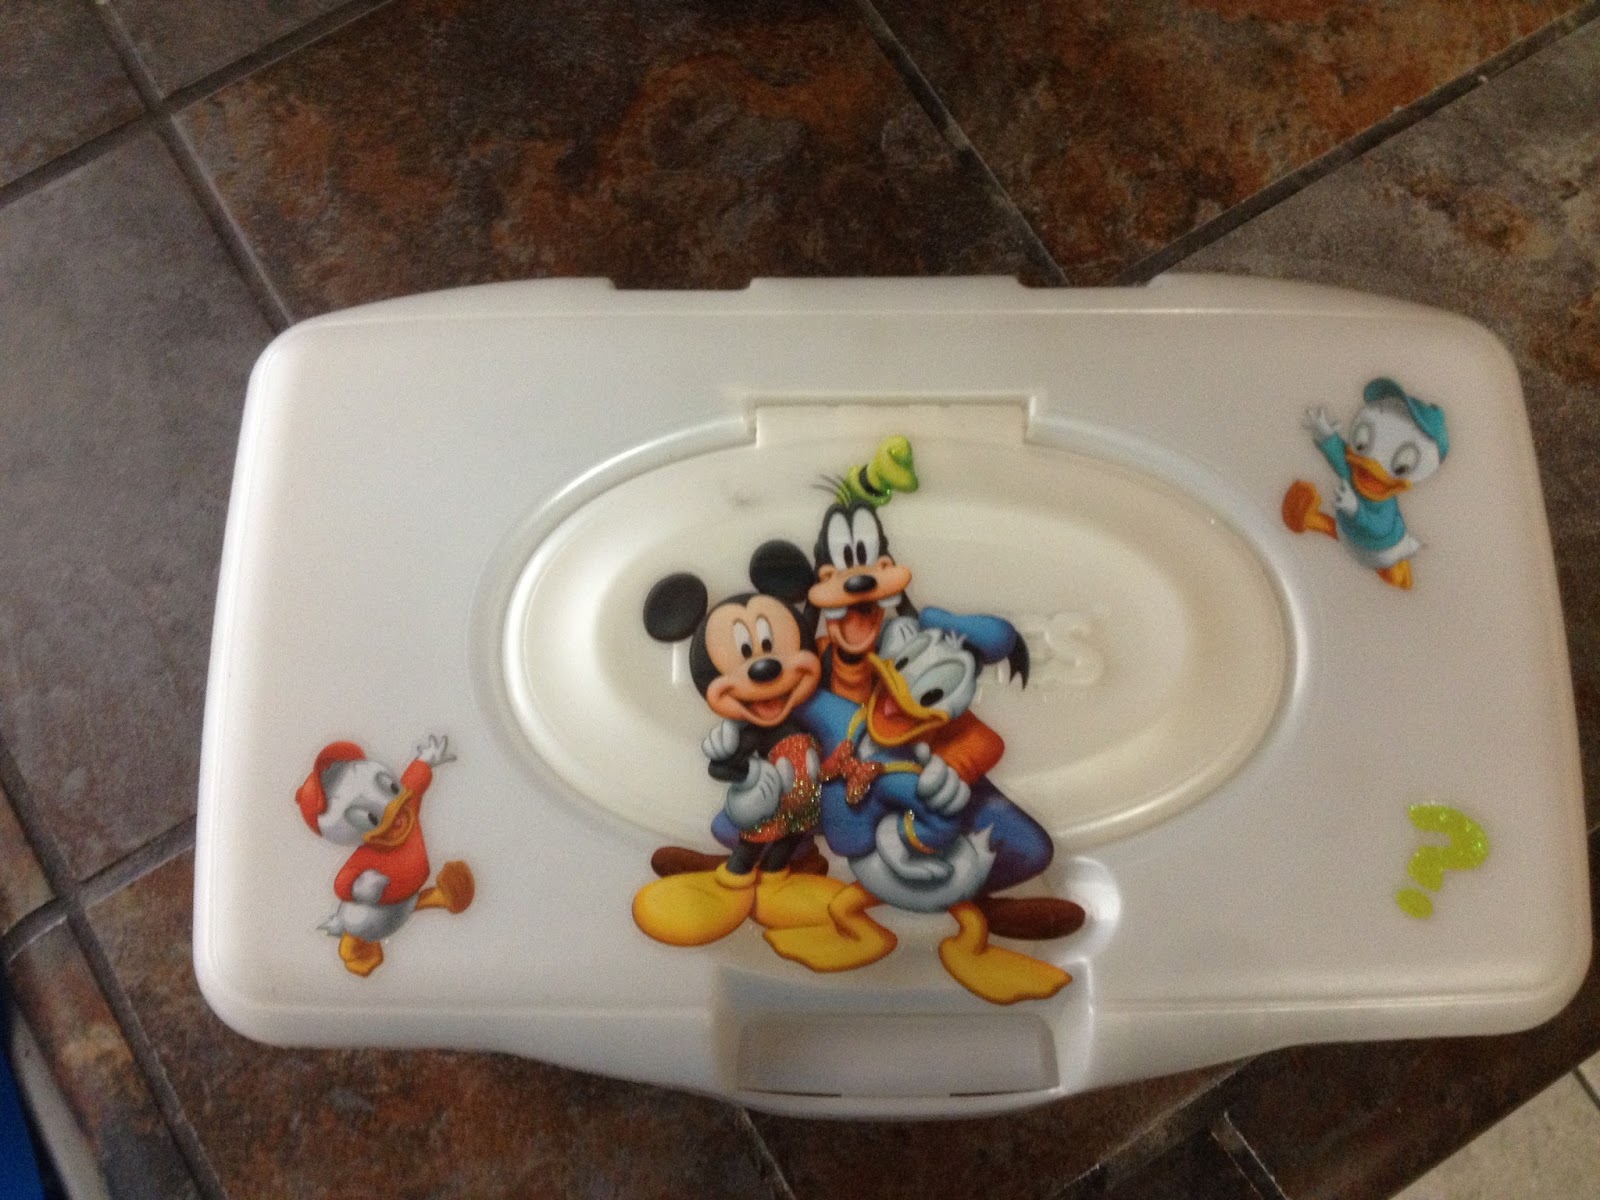
So, I made my mind up and decided to reuse the same box from last year (since its big enough to fit all his school supplies. I did add some stickers to the lid to make it look less like a diaper box. So besides reusing the wipes container I also reused the following supplies: 
(not really reuse since the pencils are new) 

So here's the box:: 


And here is what I bought ... I spent a little less than $3.


And here is how I set it up...

And this is what he came to... He was so excited!

Hope you like it!!!

Thursday, July 18, 2013

Back to school gift year 2

So that time of year is approaching soon ... school starts in 20 days!! Where did the summer go? 
Last year my son came home to a small present (http://emsmom611.blogspot.com/2012/09/cheap-and-easy-back-to-school-present.html) all new school supplies in a wipe container to keep it all in. I have looked for a cooler pencil box but nothing is quite as big and can fit all supplies. Again my goal is for my son to be able to sit with his box and not need to get up in search for a glue stick, or sciccors. Its all there. So my great debate with myself this is year is wether I should redo the box or just restock with all new supplies. I have been leaning to just restocking it ... hmmm dilemmas.... 

** Take advantage of those back to school sales! I went to Staples today and with some rewards bucks and their sales ... I payed .25 for a pack of Crayola Crayons. $1 for a 12pk of Crayola colored pencils and so much more!!! 

Check out my blog for the way I presented the wipe container to my son! The link is above ... my son loved it and knew where his box was, just grabbed it and was ready to go! 

Thanks ! Constructive criticism is always welcomed. 

Saturday, June 29, 2013

Teacher end of the year gift!

So to follow up on that last post on the teacher gifts (http://emsmom611.blogspot.com/2013/06/teacher-appreciation-gift.html)  
... I had decided to not do the weekly gift since the last day of school was in a week! But I loved the idea that I didn't want to spend too much money since that's not what's important! I had donated materials to the classroom throughout the year. And gave the teacher gifts at all occasions possible. I wanted her to know we were thinking of her without all the money! So here is what I came up with...

I went to Albertsons and bought a plastic cup with that jelly stuff to help keep the drink cold. And bought a couple king size candy bars. And used some fillers I already had at home, (from birthday parties).  I made a simple thank you tag with a personal note using stuff I had at home and some ribbon. Total I might have spent $15. The cup was the biggest expense! Here it is... Let me know what you think.


Sorry for the blurry picture ... so not my style! 

Teacher Appreciation Gift!!

Since not many people read this, it is a little hard to be encouraged to keep up with it. I'll try a little harder since I know I can relate to many moms out there and I would LOVE feedback on my little projects. I am a first time mom with two kids. My son(step) is 5 years old and my daughter is 2! It has been a struggle to adjust to a life with 2 kids, especially since recently I have had to switch as a full time parent for my son. 

 I was excited for his first year of school but I never realized that all the cute and nice ideas that I saw on pinterest would put a hole in my pocket! So toward the end of the year convincing hubby to fork over more money was a little of a fight, especially since the school our son was in many parents didn't seem to be involved. 

Well, with that said teacher appreciation week was vastly approaching and my intent was to do a small gift every day of the week. But then the end of the year was coming to an end and that was 6 gifts I had to plan and purchase. Well with the chaoticness (I know its not a word but it should be) of motherhood I completely forgot about the gifts! So Monday I come home from dropping my son off at school and it hits me .... ahhh the gift! I have 2 hours to put something together!!! So here is what I did ...

I had old jars of spaghetti sauce cleaned out and peeled ready for use! I used my cricut to cut out an M for Mrs.M using vinyl and I remember her telling me purple was her favorite color! I threw in some cotton balls and some new files I had purchased a couple weeks ago. I grabbed some purple ribbon and tied it around the top of the jar. Lastly, I wrote out a little poem using as many M words as possible, to put inside ...

The poem read:: 
Mrs. Montero,
Thanks a Million
For being such a
Marvelous Maestra!

Hope you get a Minute
For some Me time,
Here is a little something
Hope it Helps!


Then I ran to rite aid and bought 3 nail  polishes all in the purple family & on sale, some single use nail polish removers, toe separators & tape to cover the lid! I ended up spending less than $6 on the whole gift and I ended up really liking it! Hope you do too!! 


Wednesday, February 6, 2013

DIY Handprint Calendar

Ok, I have been very busy making things and trying hard to make my kids childhood's as memorable as possible! So I know I am a bit behind but I am trying to catch up. After the holidays it seems like I am finally back to my routine of things. The craziness is over!!!  For Christmas my husband's family does gift exchanges amongst the adults, but I felt that the kids should get the grandparents a little something. I decided to go with a very personalized calendar. Being a fan of pinterest I found the template to a handprint calendar.
I thought this would be cute but instead of an 8.5 X 11 page calendar I found some desk calendars at the dollar tree. Then using the template from pinterest I made these calendars. I placed some color construction paper in the background and using my Cricut I cut 3X3 squares. And I alternated the months between both my kids. I bought a 6 color hand paint set made from Crayola at Toys R Us for around $5. I cut out the labels and hand wrote the poems ... it was the easiest option i could think of. 


And lastly for the cover I found a cute picture of my kids together... this one was from a year ago. And wrapped it up! 

Saturday, February 2, 2013

DIY Personalized Christmas Ornament

 Last year I got the idea to make a family ornament using pieces of clothing that represented each person in out family. For my son I used some Cars pjs, my daughter I used a piece of her swaddle blanket, for my husband I used an old work shirt and for myself I found an old shirt with roses on it (since my name is Rosa). But this year I decided to go a different route and use fabrics that I felt represented our family. For my son it was his first year in T-ball and found a nice print at Joanns. For my daughter she had a 50's themed 1 year old party and so she got a cherry print. For my husband I found a money print (kind of sad) but I couldn't find anything else. I was looking for tools but no luck. And for myself I got a print with cameras since I am the family photographer. Back to this years ornament, I made two templates 5" circle and 4.5'' circle. I pre cut all the fabric, leaving room for the sowing. I am not a great sower and do not know how to use a sowing machine. 

Here is what you will need...
- Fabrics of your choise 
- Scissors
- Thread and Needle
- Pins 
- Pen

 I Pre- Cut all my squares ...
 And drew the lines where I was going to sow...
 Here is what it will look like when all four triangles are put together.
 This is how it looks like as I am adding the back to it! 

 Once I was done and left an opening to stuff the ornament, Using my Cricut I cut out 2012 and made a stencil. Afterwards using a piece of contact paper I used my stencil and wrote in 2012,  Using pins i placed it on the ornament and using a nice thread to write out the number. 
 Once that is done you can stuff the ornament with cotton and I used glue to seal the last piece together. 


Lastly I added a little ribbon to put the hook in and all done! 
And here are my ornaments. I hope to continue this tradition. I think one day my kids will enjoy them and we can always talk about why I chose them and any stories behind them.
Thanks for visiting!